Getting the most from your cutting head depends heavily on proper equalization,(and to a certain extent, your stylus). While I'm using the JE 1D Cutting head, with a zirconioum embossing stylus in these examples (which has a fairly predictable frequency response), this calibration process works for any cutting head, whether it be a diamond cutting stylus or an embossing stylus.
EQ Matching Process in Reaper
Reaper Setup Process
I use Reaper with FabFilter Q3 for its EQ Match function. Here's the exact process:
1. Initial Reaper Setup
Create two tracks:
- Track 1: Your original pink noise
- Track 2: For recording the embossed playback
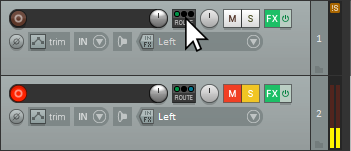
Find the 'Route' button as shown by the red arrow
2. Setting Up the Routing

Select Track 2 from the routing options
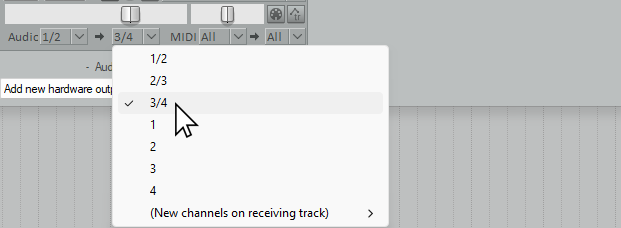
Choose channels 3/4 for the comparison
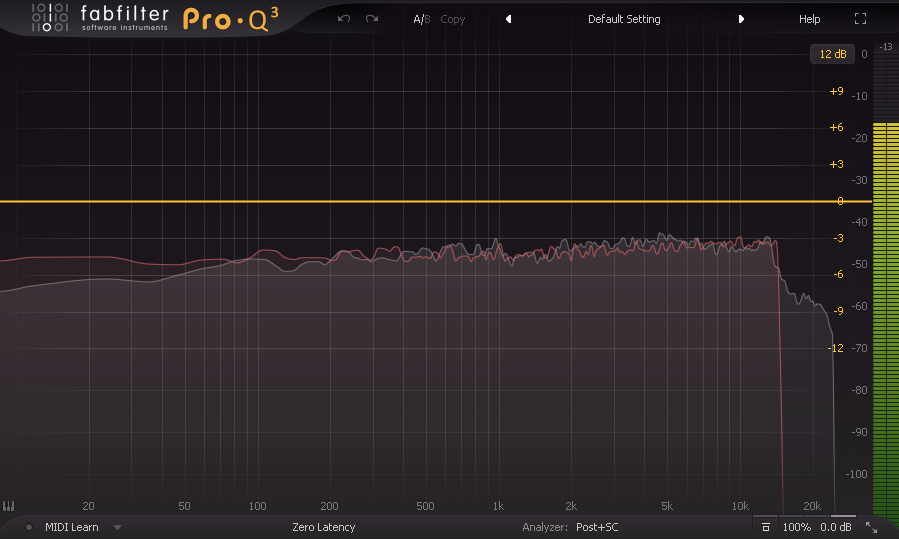
3. Analyzing the Response
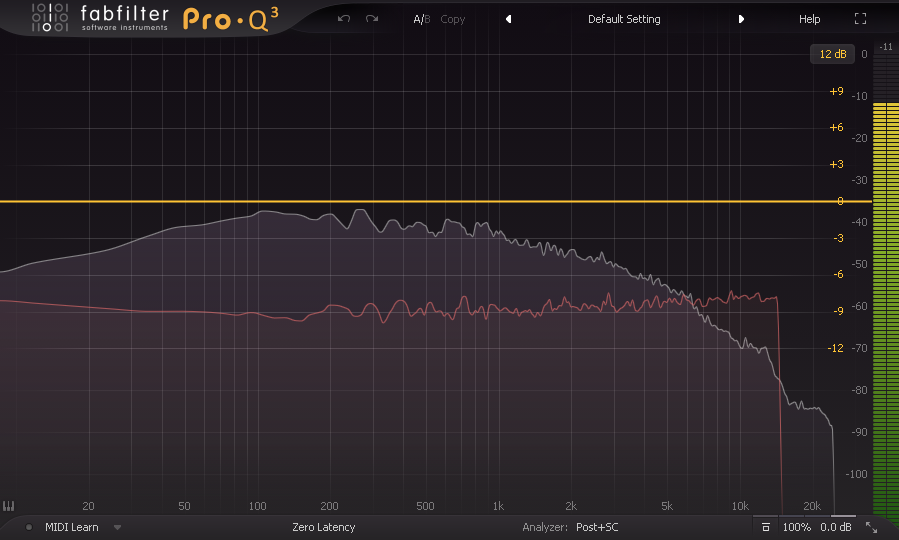
Initial comparison: Original pink noise (top) vs embossed playback (bottom)
4. Making EQ Adjustments
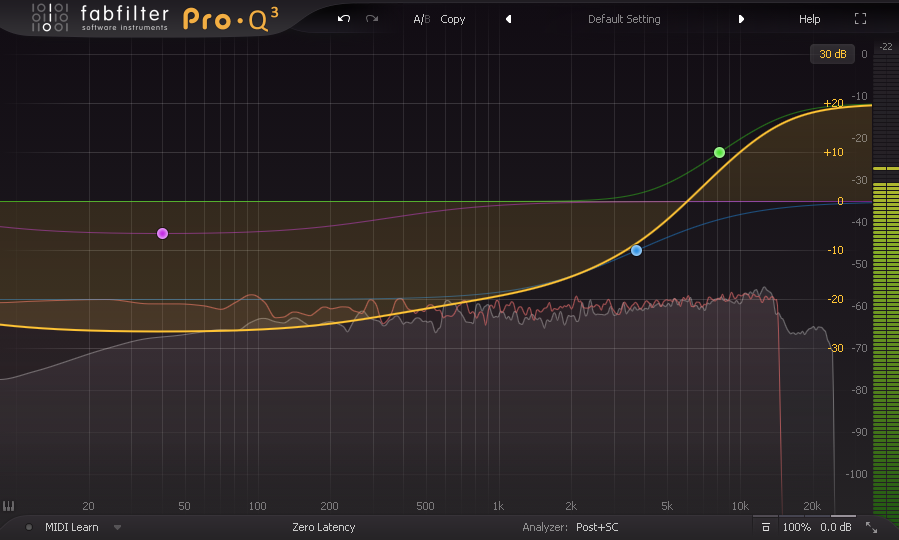
Adding EQ points to match the response curves
5. Final Response
The final EQ curve ready for use
This EQ curve can now be applied to your original track. You may need several iterations to get it perfect, but this process will help you develop a reliable EQ curve for your specific setup.
Pink Noise Test Process
Recording and Safety Considerations
Start by cutting a pink noise track with no EQ. A word of caution here - lower frequencies need more current, so without proper fusing on your cutting head, you risk damaging your coils.
For protection, my amplifiers use 1A MCBs. These provide two types of protection:
- Quick magnetic trip for short circuits
- Thermal trip via bimetallic strip for sustained overcurrent
Steps for Recording:
- Remove all EQ settings from your cutting chain
- Cut or Emboss pink noise at a very low volume (10-20 seconds is enough)
- Start at minimum volume and gradually increase to ensure some trackable content
- Play back through your turntable and RIAA filter into recording software
Final Notes
This calibration process represents what has worked consistently for me while embossing records. Remember that embossing is entirely experimental, and these shouldn't be considered hard and fast rules. The key is to:
Key Takeaways
- Always start with a clean pink noise test
- Make incremental adjustments
- Test multiple times to ensure consistency
- Document your successful EQ curves for future reference
- Be prepared to adjust based on your specific equipment